Build your own DMX adapter for ~$10
theatre dmx electronics diyI was looking for a way to control a DMX universe from my computer, but the cheapest (while still reputable) DMX to USB adapter I could find was the Open DMX USB from Entec, which costs ~$60. I didn't feel like spending that much, so I built my own!
What is DMX?
DMX, formally DMX512, is a standard for controlling lighting and other stage equipment. It allows you to control up to 512 channels of devices, such as lights, fog machines, and more. Each channel can be set to a value between 0 and 255, and some fixtures can use multiple channels to control different aspects, such as color, intensity, movement, strobe, gobos, and more.
What do I need?
To build your own DMX adapter, you'll need:
- A USB to RS-485 adapter (I got this 6-in-1 dongle for $6)
- A female 5-pin XLR panel mount connector (I got this pack of 4 for $10, which comes out to $2.50 each)
- If your system uses nonstandard 3-pin DMX, you can use a 3-pin version instead
- A 3D printer (or access to one) to print the enclosure
- A soldering iron and some solder (I highly recommend the Pinecil V2, which I used and love dearly)
- A few (3) wires (I used some braided 22 AWG I had lying around)
- Some hot glue (optional, but HIGHLY recommended - to seal the enclosure with the lid and secure everything inside)
How do I build it?
Soldering
First, you'll need to solder some wires to the XLR connector. Since this is a relatively simple adapter, we're only connecting the first three pins for one universe. The pinout is:

Get three wires and solder them to pins 1-3 of the XLR connector. I struggled quite a bit with the soldering here, since it's a cup terminal and I'm not very familiar with them - this video was exceptionally helpful. Then, strip the other ends of the wires.
From here, you have a few options - you can either solder the wires directly to the headers on the adapter, or you can do what I did and crimp on female Molex connectors. I went with the latter only since I had them lying around, but you can do whatever you prefer.
You'll need to connect the wires to the adapter as follows:
- Pin 1 (ground) XLR to the GND pin on the adapter
- Pin 2 (data -) XLR to the A pin on the adapter
- Pin 3 (data +) XLR to the B pin on the adapter
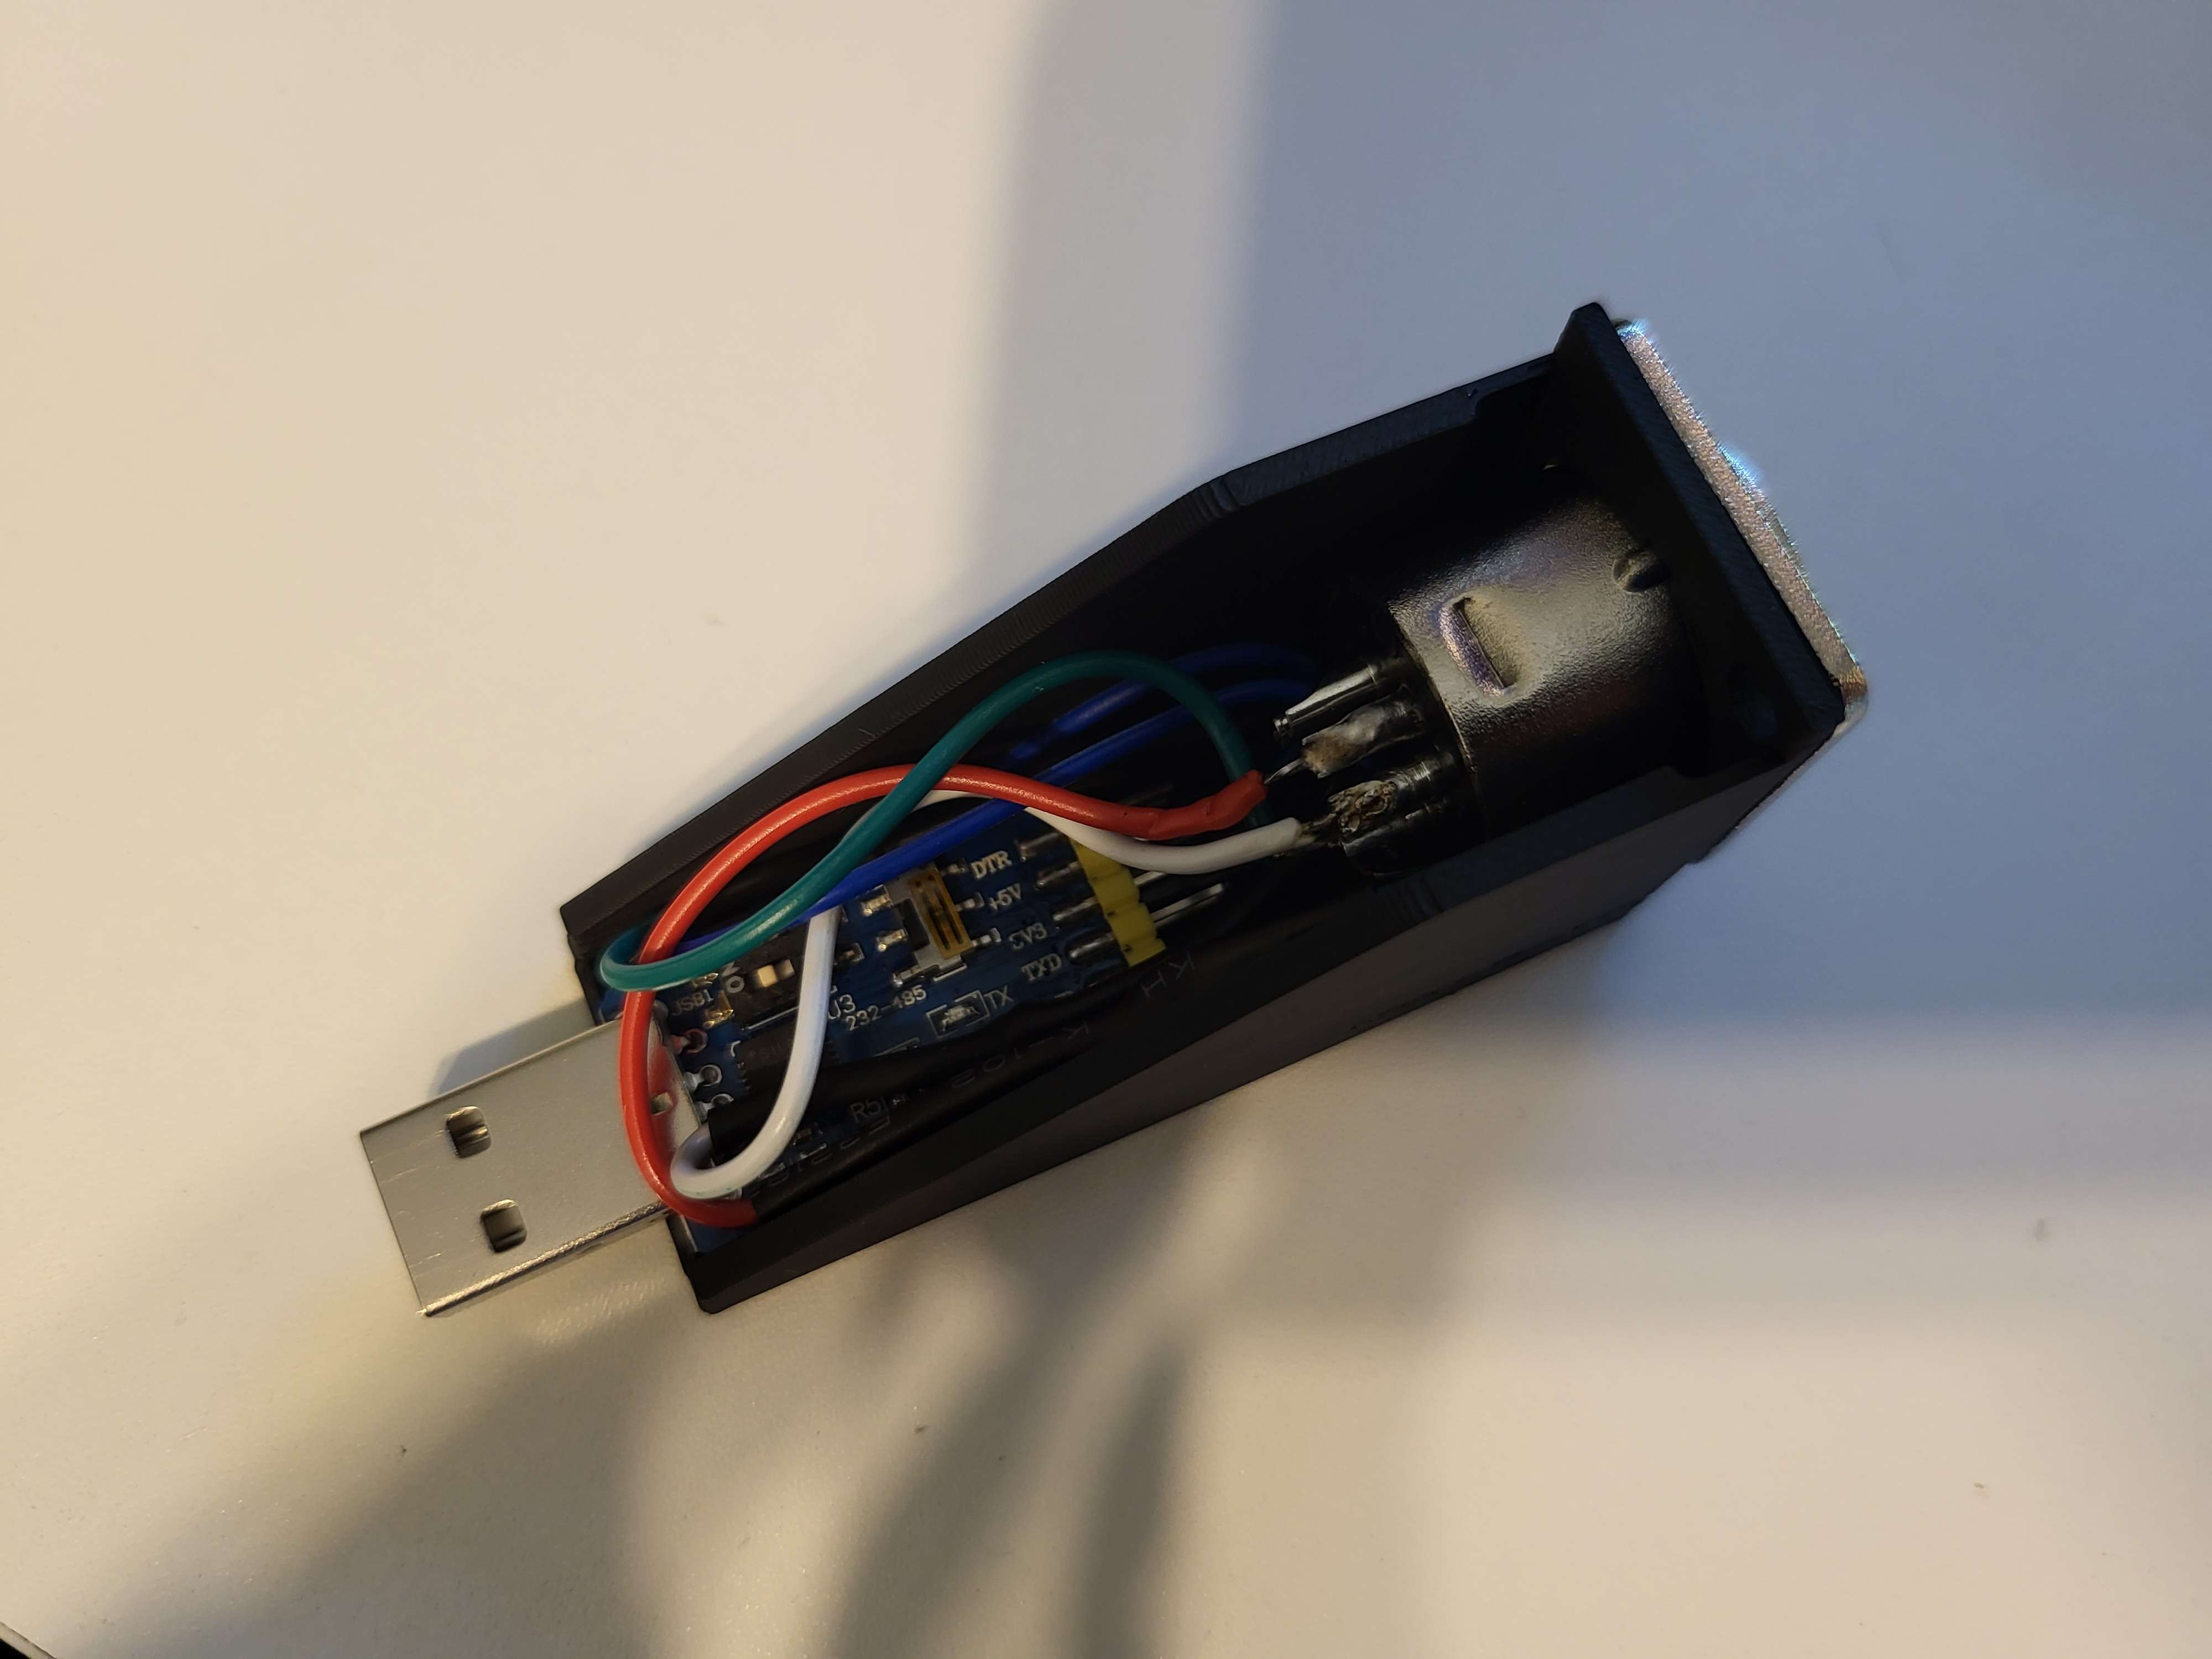
Configuring the adapter
This may vary based on your adapter, but with the 6-in-1 dongle I used and its clones, this is the standard pinout. Next, make sure the adapter is in the correct RS-485 mode. The datasheet for my specific adapter makes it clear:

If your adapter has a different pinout or configuration, refer to its documentation to ensure you're setting it up correctly - just make sure the output is RS-485, not RS-232 or anything else.
You'll need a COM port driver on Windows - on Linux, the drivers are usually built-in to the kernel, depending on your build. If you're using Windows, you can find the driver for the adapter here.
Printing the enclosure
You can get the files on MakerWorld. The enclosure is designed to fit the XLR connector and the USB to RS-485 adapter snugly, with a slot for the USB cable to exit.
I printed it in ABS for durability and long-term use in my theater, but you can use PLA or any other material you prefer.
Assembly
Warning: Make sure to double-check your soldering and connections before proceeding with assembly. You have been warned!
Once you have the enclosure printed, it's time to assemble everything. Assuming you've already permanently soldered the XLR connector to the USB adapter, you can insert the connector by threading the USB adapter through the slot in the enclosure. The XLR connector should fit snugly into the hole - you can secure it with screws, but I put two big globs of hot glue through the two mounting holes to hold it in place, while holding the case at a slant so the glue would flow down and around the connector on the inside.
Next, situate the USB adapter correctly in the correct position. Pull it up, and place a single dab of hot glue on the bottom of the dongle to hold it in place, then push it down.
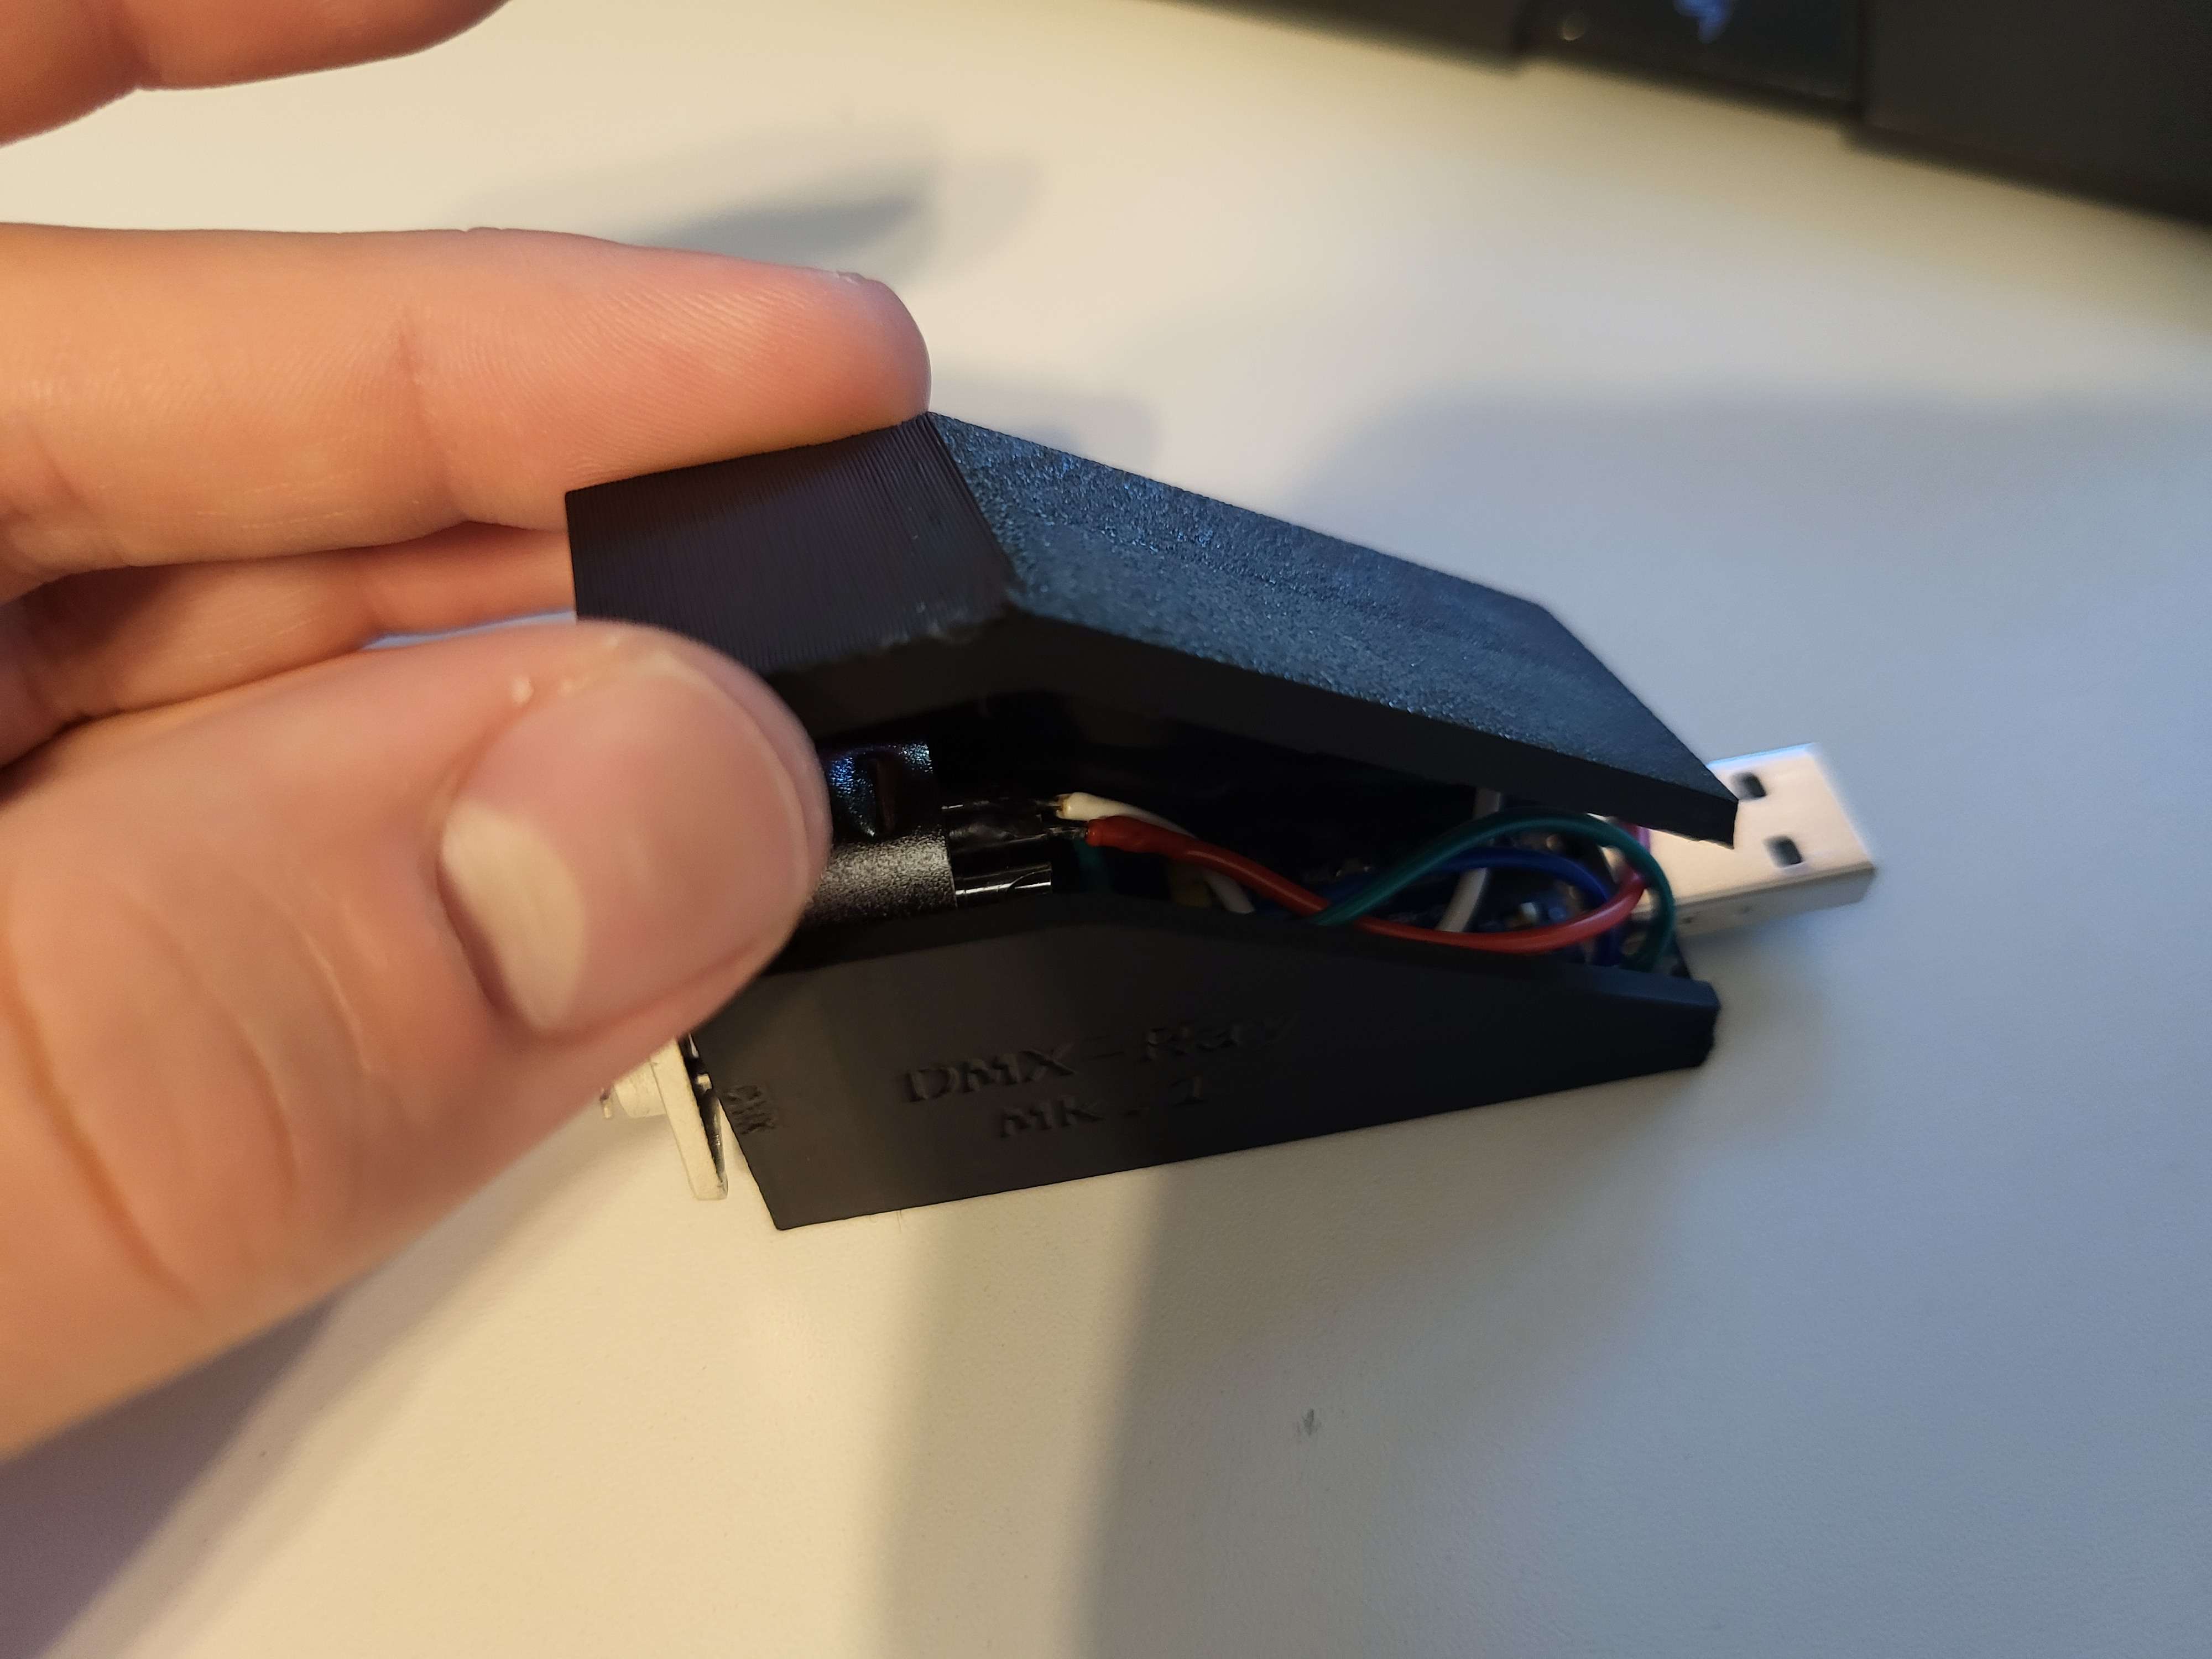
At this stage, it should look like:
Finally, put a thin line of hot glue around the edge of the main case, then press the lid down firmly. Hold it there for a few seconds to let the glue set, and you're done!
How can I use it?
This creates a completely standard USB serial port that you can use with almost any DMX control software that also supports serial DMX/the Enttec Open DMX USB. You may need, though, to bridge the serial port to an alternate, more widely supported protocol, such as Art-Net or sACN, depending on your software.
QLC+ is a great free and open-source DMX control software that supports this adapter out of the box. You can also use it with Ola.
Questions? Comments? Concerns?
Shoot me an email! - I'm always happy to help out with any questions you may have about this project, or if you need help with your own DMX setup. If you found this guide helpful, please consider sharing it with others who might benefit from it!